Ease is the difference between a garment’s finished circumference and the body circumference it is intended to cover. Positive ease means extra room; negative ease means a smaller garment relying on the intended fabric and fit. The useful amount depends on the design, the layers beneath and your preference.
For an alpaca sweater, calculate the difference, then compare it with something you already enjoy wearing. Do not choose an ease number solely from the fibre name.
Keep both measurements on the same basis
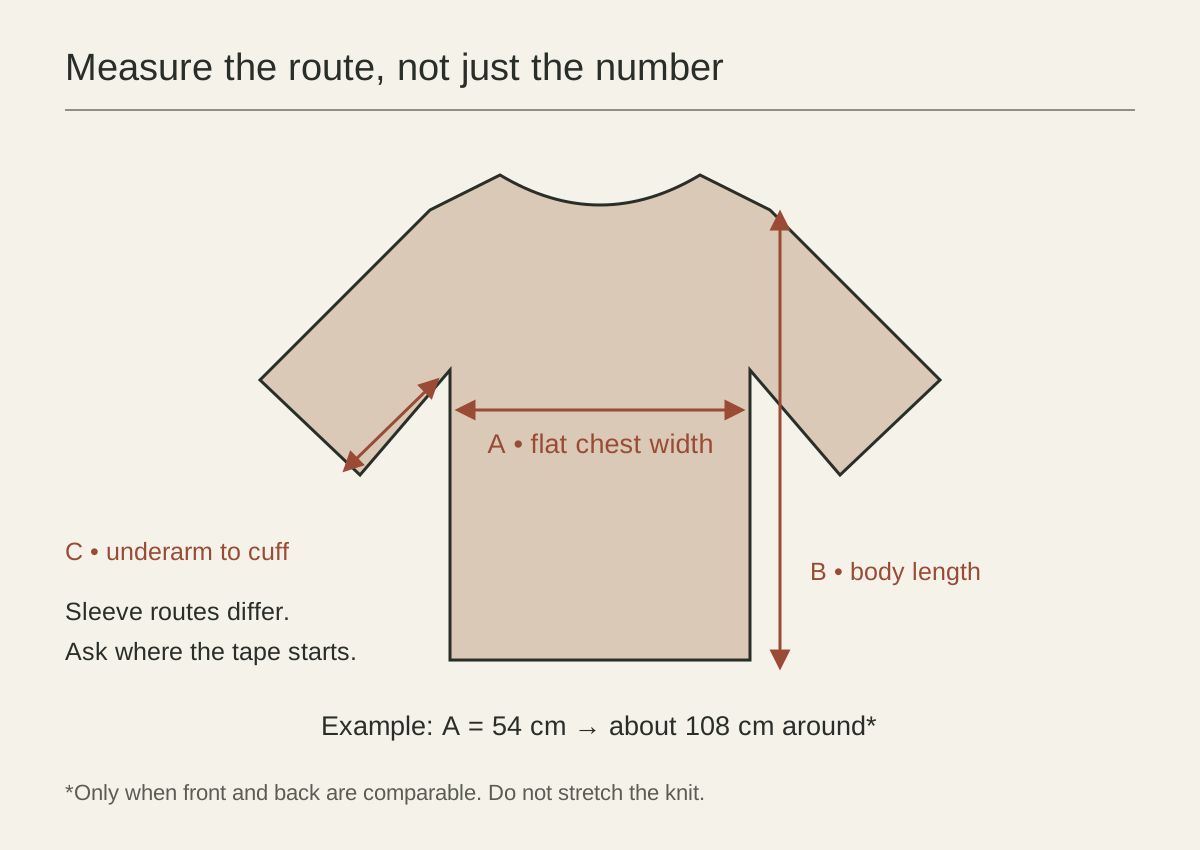
A body circumference and a flat garment width cannot be subtracted directly. First confirm whether the seller’s figure is a full circumference or one side measured flat. Also confirm where the garment was measured.
The Craft Yarn Council’s sizing guidance distinguishes body measurements, finished measurements and ease. This article uses that basic definition with original arithmetic examples; it does not reproduce a standard ease chart or prescribe one range for everyone.
The sweater sizing guide explains the larger fit decision. Here the focus is on reading the numbers without turning them into a promise.
Work through a comparison
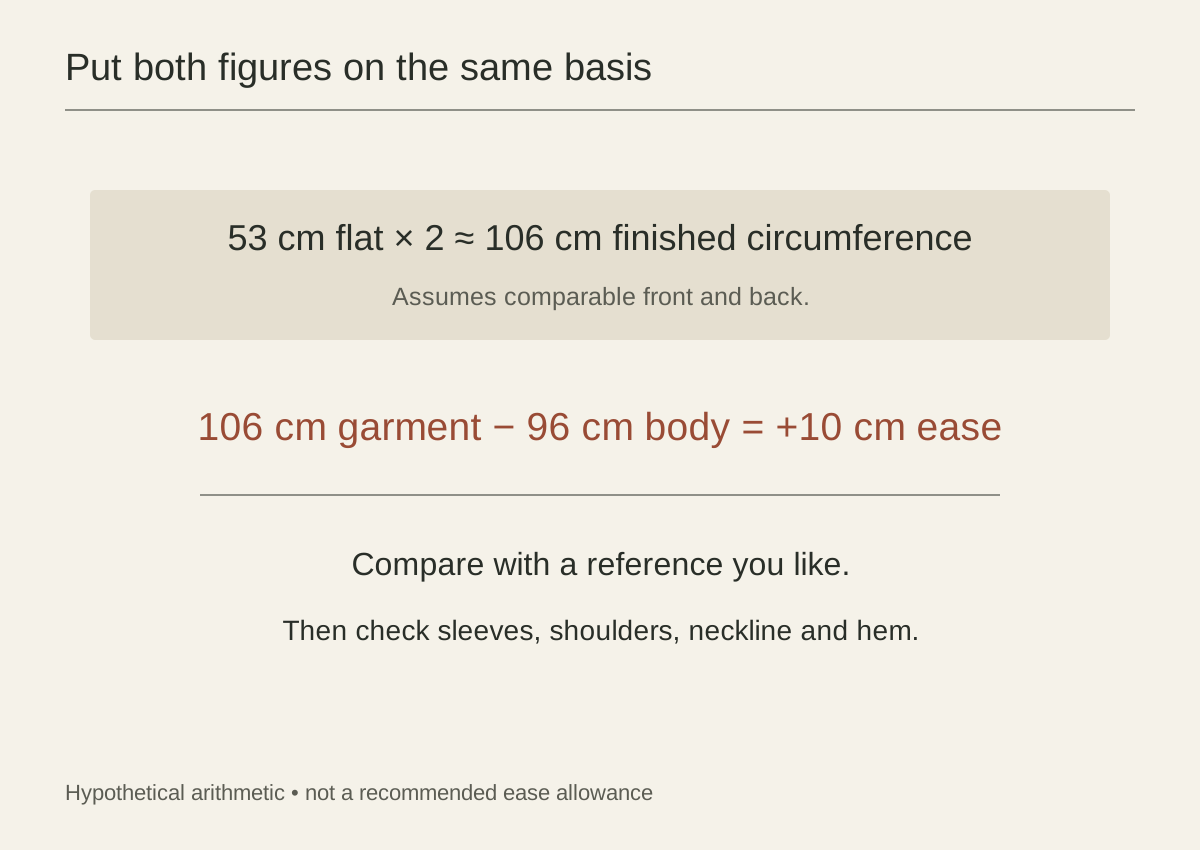
Suppose an imaginary wearer has a 96 cm chest and likes a reference sweater with a 106 cm finished chest circumference. The reference has 10 cm of positive ease: 106 − 96 = 10.
Now suppose three listings provide comparable finished circumferences:
| Hypothetical listing | Finished circumference | Difference from 96 cm body |
|---|---|---|
| A | 102 cm | 6 cm positive ease |
| B | 106 cm | 10 cm positive ease |
| C | 110 cm | 14 cm positive ease |
These numbers are an invented arithmetic illustration, not a brand chart, sizing recommendation or measured product sample. Listing B matches the reference circumference, but could still have a different armhole, shoulder, neckline or hem.
The worked example tells you how to calculate a difference. It does not determine which garment the wearer should buy.
Chest ease is only one part of fit
A roomy torso does not guarantee comfortable upper sleeves. A wide sweater can also be shorter than you prefer or have a neck opening that feels restrictive. Check the dimensions that affect your actual movements and layers.
For a design with a dropped shoulder or an intentionally oversized body, compare the intended shape rather than forcing it to behave like a close-fitting set-in-sleeve sweater. The product description should explain what the designer intended.
If your body measurement sits between a seller’s suggested sizes, compare finished dimensions instead of automatically moving up or down a letter size. A different cut may solve the problem better than a larger version of the same shape.
Four traps in the arithmetic
- Subtracting a body circumference from a flat width. Convert the garment to the same basis first, noting any assumption about the back.
- Doubling a width difference twice. A change from 53 to 55 cm flat is 2 cm flat, or about 4 cm around; it is not 8 cm.
- Comparing different body points. A hem at the hip needs its own body and garment comparison. Chest ease does not describe that fit.
- Treating the base layer as a second ease allowance. Try the intended layer and assess the available room; do not add an arbitrary number and then add it again when choosing a ‘relaxed’ size.
For the hypothetical 96 cm wearer, a 53 cm flat-width sweater is about 106 cm around, giving 10 cm positive chest ease. That calculation can be right even when the sleeves are wrong for the wearer. Keep the arithmetic and the movement check together.
Negative ease needs design information
Negative ease depends on a particular fabric working at its intended stretch. The calculation still uses the garment-minus-body difference; the construction and recovery must also suit the resulting fit. Ask the maker about that intended fit rather than extrapolating from our positive-ease table.
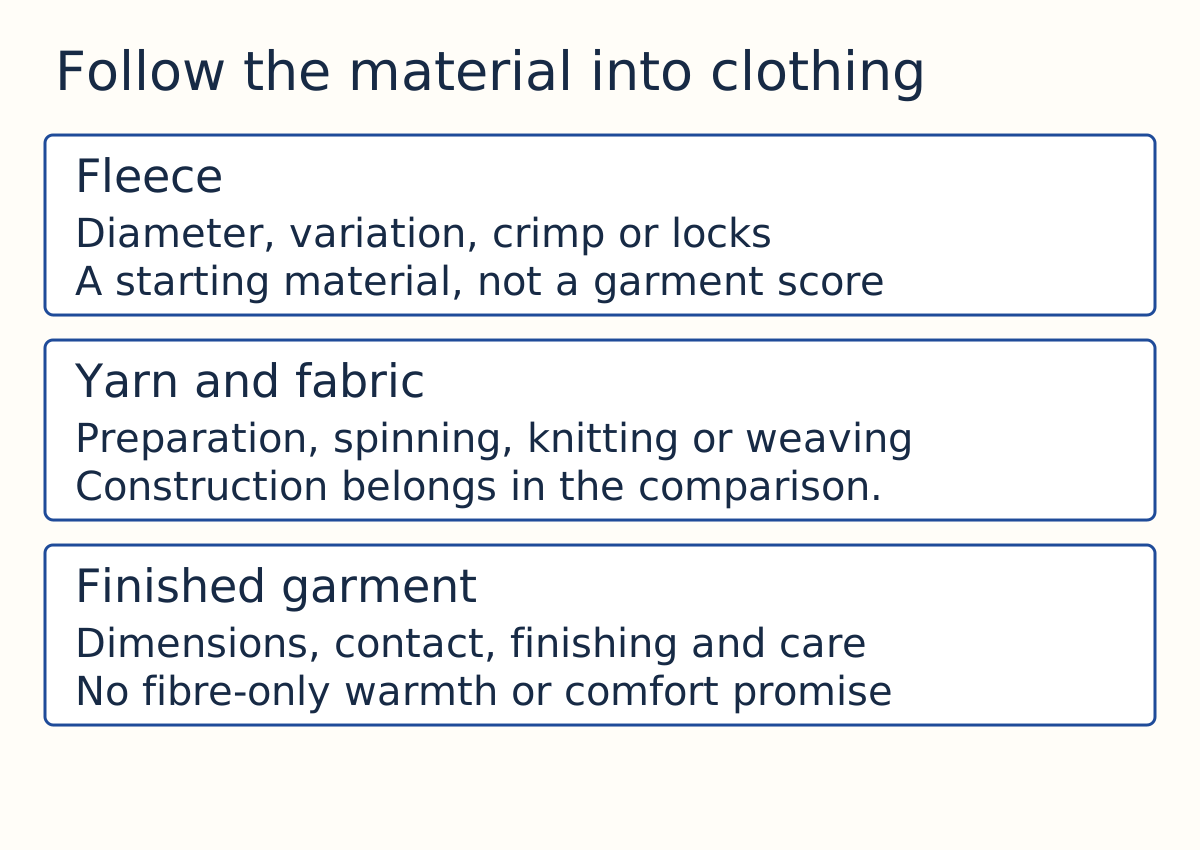
Do not assume that a tight sweater will permanently grow to the right size. Nor should a description of fibre crimp be treated as a test of the finished knit’s recovery. The alpaca wool overview separates fibre characteristics from garment performance.
Include the layers you will wear
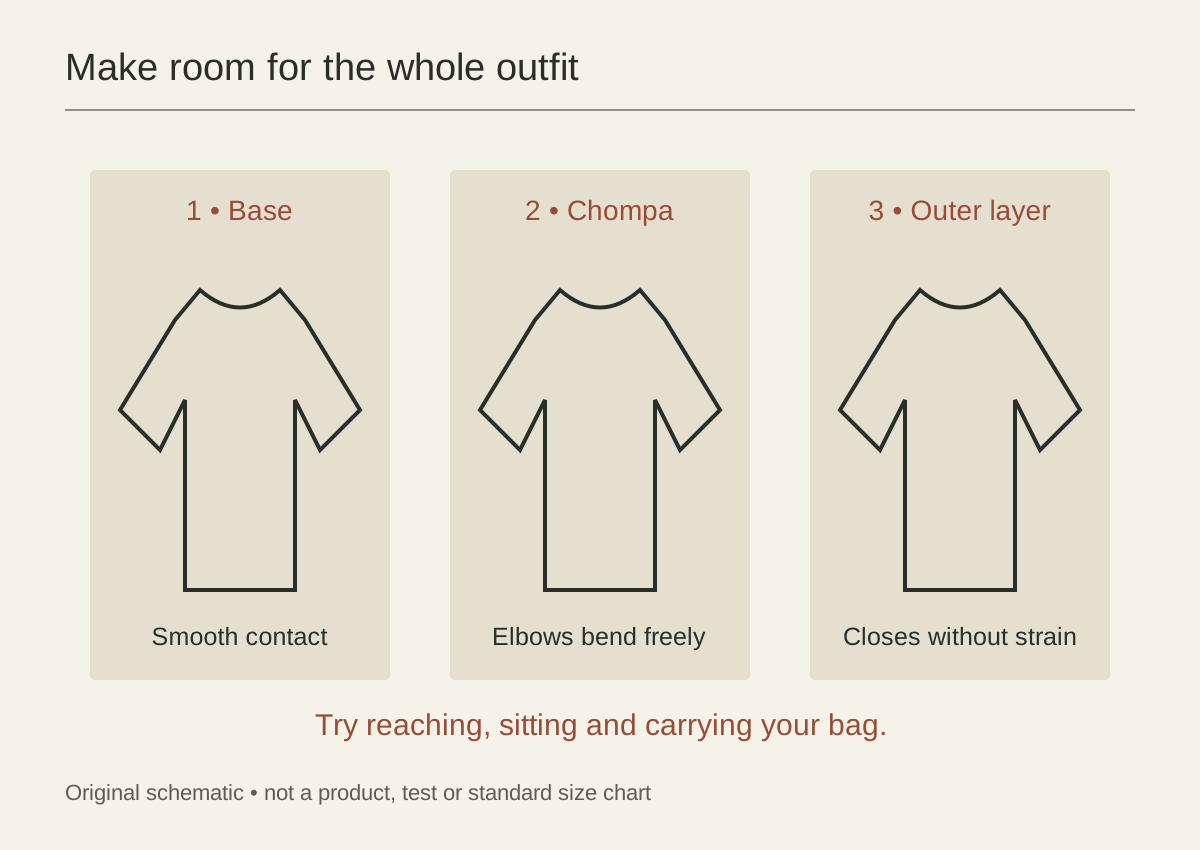
Return to the 96 cm example with a realistic base layer and the jacket you plan to use. Bend your arms and reach forward. A comfortable measurement comparison on paper is a starting point for those checks.
If buying remotely, ask for missing dimensions and keep the return conditions with your worksheet. The chompa layering guide gives a practical sequence for checking the whole combination.
Your final note might read: “10 cm positive chest ease; upper sleeves still need confirmation.” That is more informative than simply calling the sweater roomy.