Measure a clean, dry sweater that fits the way you want the new one to fit. Lay it flat without pulling it into shape, record the measuring routes and compare them with the seller’s finished garment measurements. A useful record says where the tape went, as well as the number it produced.
This is a worksheet for comparing garments you already understand. For deciding the overall fit and the space around your body, begin with the alpaca sweater sizing guide.
Choose a reference with the right job
Pick a sweater you wear over a similar layer and for a similar purpose. A close-fitting fine knit is a poor reference for a roomy, heavy pullover if you expect the two to hang alike.
Make sure the reference is dry and in its ordinary wearing shape. A freshly washed piece that has not dried completely, or a sweater stretched on a hanger, may give you a misleading baseline.
The Craft Yarn Council recommends reviewing measurements and schematics, and notes that a well-fitting garment can help when direct body measurement is difficult. This worksheet applies that principle to a buyer’s comparison, rather than reproducing a standard size chart.
Give every measuring route a photo key
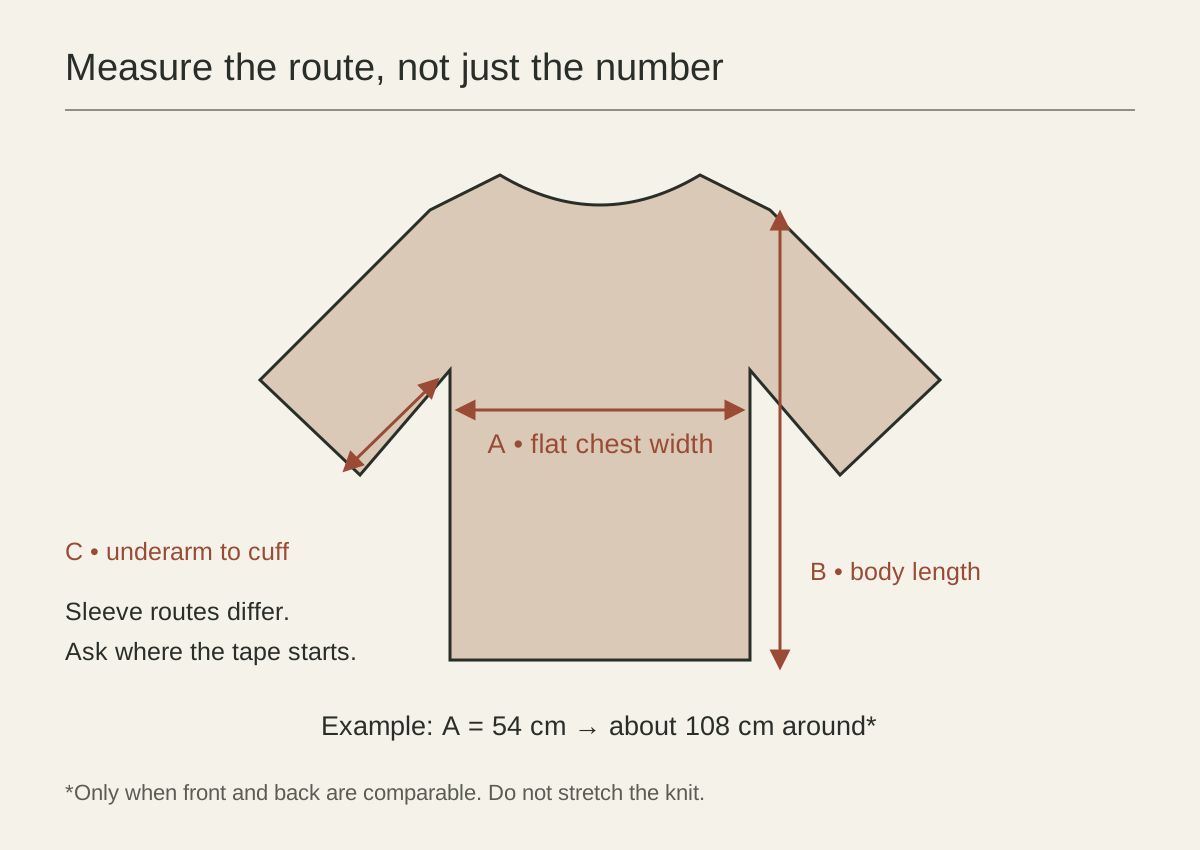
Lay the dry garment flat without stretching it. For each useful dimension, take a photograph showing the tape’s start and finish, then give it a short key: A for flat chest width, B for body length from the high shoulder and C for underarm-to-cuff sleeve length, matching the diagram. Use U and H for the additional flat upper-sleeve and hem widths below. Include the unit in the image or note. The diagram is a reminder of flat-garment routes, not instructions for measuring the body.
Do not assume a seller’s ‘sleeve’ follows your C route. Send the relevant photo and ask for the same route. Keep body measurements and ease calculations in the sizing guide, rather than copying them into the finished-garment column.
Copy this record for each candidate
Reference: garment/model ___ · measured on ___ · dry, relaxed condition ___ · intended under-layer ___
| Photo key and exact route | Reference, cm | Candidate, same route | Difference | Seller reply or unresolved point |
|---|---|---|---|---|
| A: flat chest width, ___ below armholes | ___ | ___ | ___ | ___ |
| B: high shoulder ___ to hem, excluding ___ | ___ | ___ | ___ | ___ |
| C: underarm ___ to cuff, including/excluding ___ | ___ | ___ | ___ | ___ |
| U: flat upper-sleeve width, ___ from ___ | ___ | ___ | ___ | ___ |
| H: flat hem width, relaxed, at ___ | ___ | ___ | ___ | ___ |
Candidate record: seller/model/size ___ · listing saved on ___ · stated measurement tolerance ___ · clarification received on ___ · return terms saved ___
Leave a candidate cell empty until the routes match. This is a reusable editorial worksheet, not a size standard or a chart transcribed from a maker.
What to do with an unmatchable reply
In an invented exchange, your C photograph shows underarm to cuff at 47 cm. A listing gives ‘sleeve: 60 cm’ without a starting point. Do not enter +13 cm in the difference column. Write ‘route unknown’ in the reply field and ask for the underarm route shown in the photo.
If the seller replies ‘48 cm underarm to cuff’, the comparison becomes +1 cm on that route. If it replies only ‘60 cm from shoulder’, leave the difference blank. You have learnt what the seller measured, but not the missing comparable dimension. Save the reply with the listing so the unresolved question survives a later comparison.
Recheck an unexpected figure with the reference in the same relaxed position. Do not average measurements taken with different stretch or starting points.
Treat different sleeve constructions carefully
A dropped shoulder, a set-in sleeve and a raglan can place seams differently. A shoulder-to-cuff number may not compare directly across them. A centre-back route can sometimes help, but only if both parties measure it the same way.
Do not invent a missing shoulder measurement by subtracting unrelated listing figures. Ask for a clear schematic or a more useful route. The extra question is easier than guessing how several dimensions fit together.
Use the comparison without demanding an exact copy
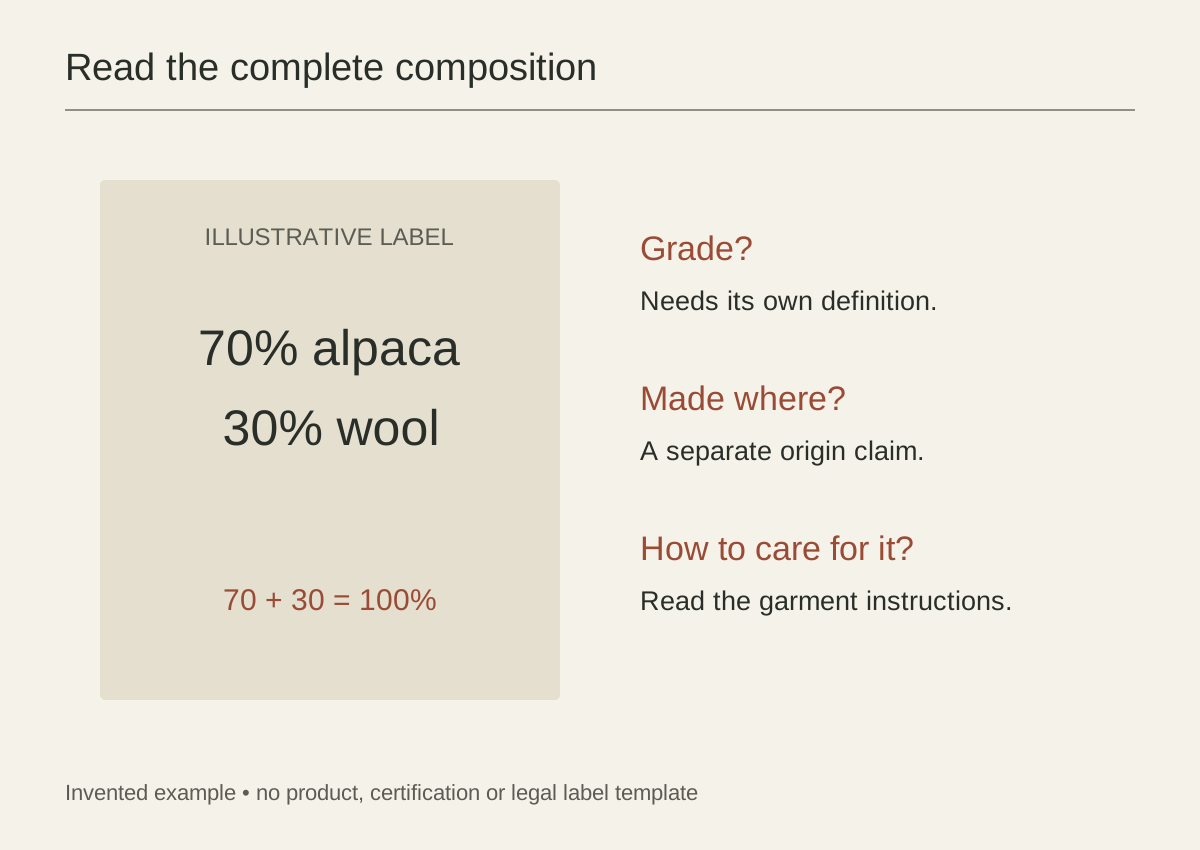
A different fabric can hang differently even with similar dimensions. Yarn, weight, knit structure and finishing all influence the completed piece. The blend reference explains why matching fibre percentages is not enough to establish matching behaviour.
Write down what you like about the reference: room at the upper arms, a hem that clears the hip, or sleeves that do not ride up when reaching. Those observations help interpret the measurements rather than turn them into an arbitrary score.
Save it for the next purchase
Keep the worksheet, the listing and the return policy together. If a hand-knit seller states a measurement tolerance, record it as well. Ask how that tolerance affects a dimension that is particularly important to you.
Before ordering a layer for travel, compare it with your jacket using layering with chompas. Keep a photo of each tape route next to the worksheet. That makes the record reproducible for a later purchase or a question about a return.