“Length 84 cm” can describe several different things. In the invented listing we will follow, it might mean cloth alone, cloth plus fringe, a folded dimension or a worn drop. Until the route is known, the number cannot tell you where the hem will sit.
Build a record of the unfolded garment, front and back drops, opening and fringe, then send the seller a request using those routes. The traditional weaving guide provides context; this is a measurement worksheet, not a standard Peruvian poncho size.
Establish what the seller has measured
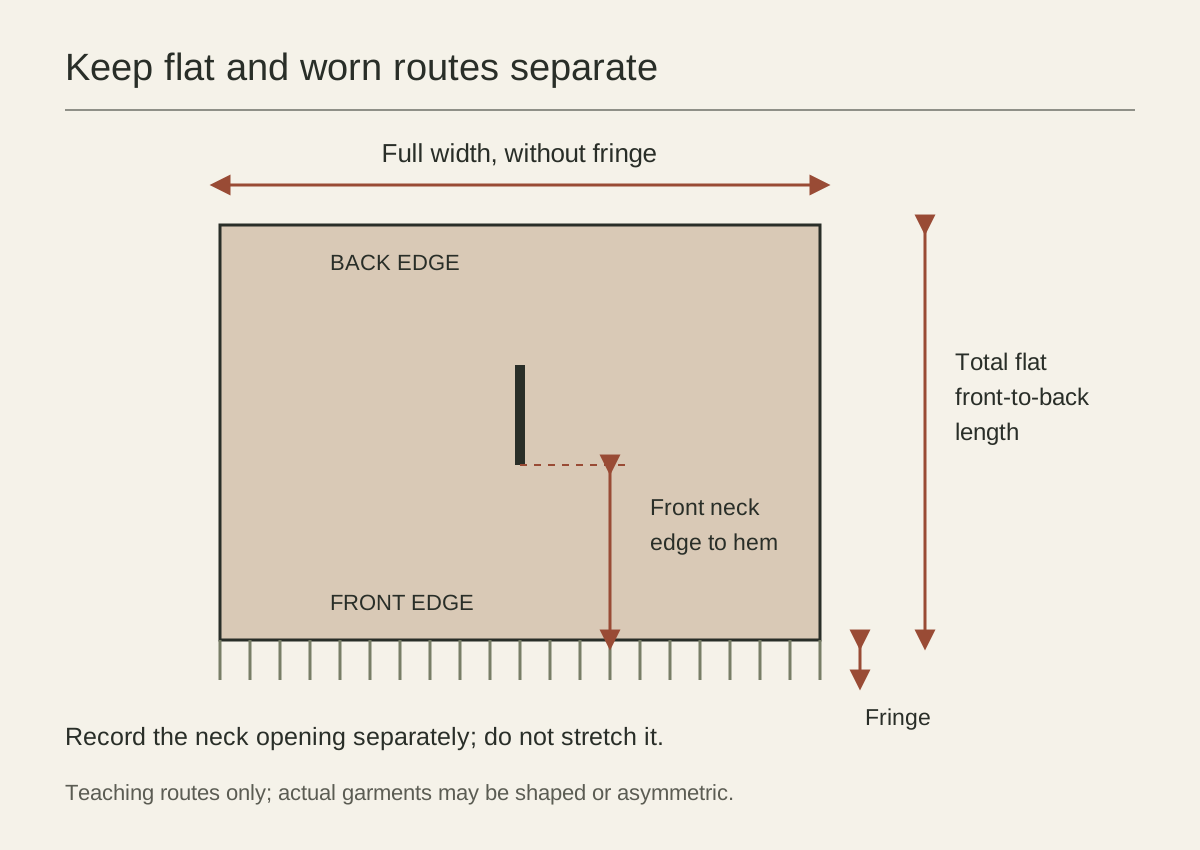
Ask whether the garment was fully unfolded, folded at the shoulder line or measured on a person. A total flat front-to-back length is different from a shoulder-to-front-hem drop. Both can be useful, but they cannot be substituted for one another without understanding the construction.
A central opening does not guarantee equal front and back drops on a body. The opening’s position, its shape and the way the garment rests on the shoulders affect the result. Nor should you halve a dimension if you do not know which direction it runs.
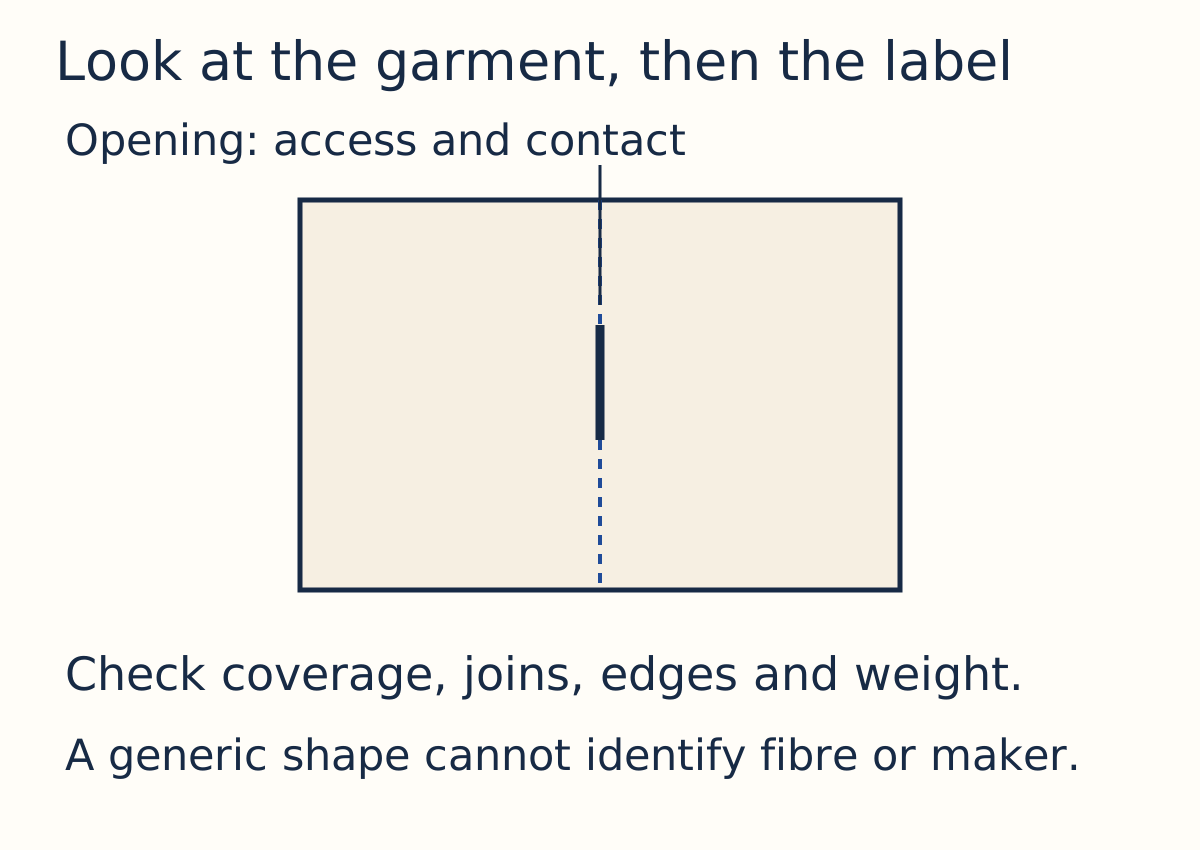
A simple rectangular teaching schematic appears above. Its routes are examples to agree with a seller, not a claim that every poncho is rectangular, symmetrical or woven in one panel.
Build the flat measurement record
Lay the clean, dry garment on a suitable flat surface with support under the whole textile. Smooth folds gently without stretching, pulling fringe straight under tension or changing the shape. If handling an old, fragile or valuable textile, ask its custodian for advice rather than manipulating it for a shopping worksheet.
| Field | Route to record | Qualification |
|---|---|---|
| Full width | Edge to edge across the body textile | Exclude fringe; name the direction |
| Full front-to-back length | Entire unfolded textile along that axis | Do not label it worn length |
| Front drop | Stated neck or shoulder point to front fabric hem | Describe the starting point |
| Back drop | Same agreed type of point to back hem | Record separately if different |
| Neck opening | Slit length or clearly described opening dimensions | Do not force or stretch it |
| Fringe | Length beyond the fabric edge | State which edges carry it |
Use centimetres or inches consistently. A photograph with the tape in position can resolve more ambiguity than a carefully rounded number without a route.
Compare a filled-in example
Suppose a seller supplies these invented measurements: 120 cm full textile width, 160 cm full unfolded front-to-back length, and a directly measured 76 cm front neck-edge-to-fabric-hem route. Fringe adds 8 cm at that hem. These are teaching values, not a recommended size or a real listing.
On that same front route, fabric plus fringe reaches 84 cm from the stated neck edge. This does not make the worn drop 84 cm from every point on the shoulder, nor establish a 240 cm body circumference. Open sides and drape make a sweater-style chest calculation inappropriate.
The opening listing’s “length 84 cm” now has a possible explanation, but it still needs a labelled route. Ask whether it means fabric, fabric plus fringe, folded length or a worn measurement. Do not treat matching numbers as matching garments until the routes match.
Check the neck opening separately
The dictionary definition of poncho highlights a central head opening, but the size and finish of that opening vary. Ask how this particular garment is put on and whether its opening stretches by design. Do not assume a narrow-looking slit will expand safely.
Where trying on is permitted, put the garment on gently over the layer you intend to wear. Stop if an opening catches or feels too restrictive; forcing it can damage the edge. An opening that passes over the head still needs to sit comfortably around the neck in ordinary use.
Test coverage in movement
Look at the front and back hems while standing and sitting. Reach forward and check where the side edges move relative to your arms. If you need your wrists covered while holding something, observe that position rather than relying on total flat width.
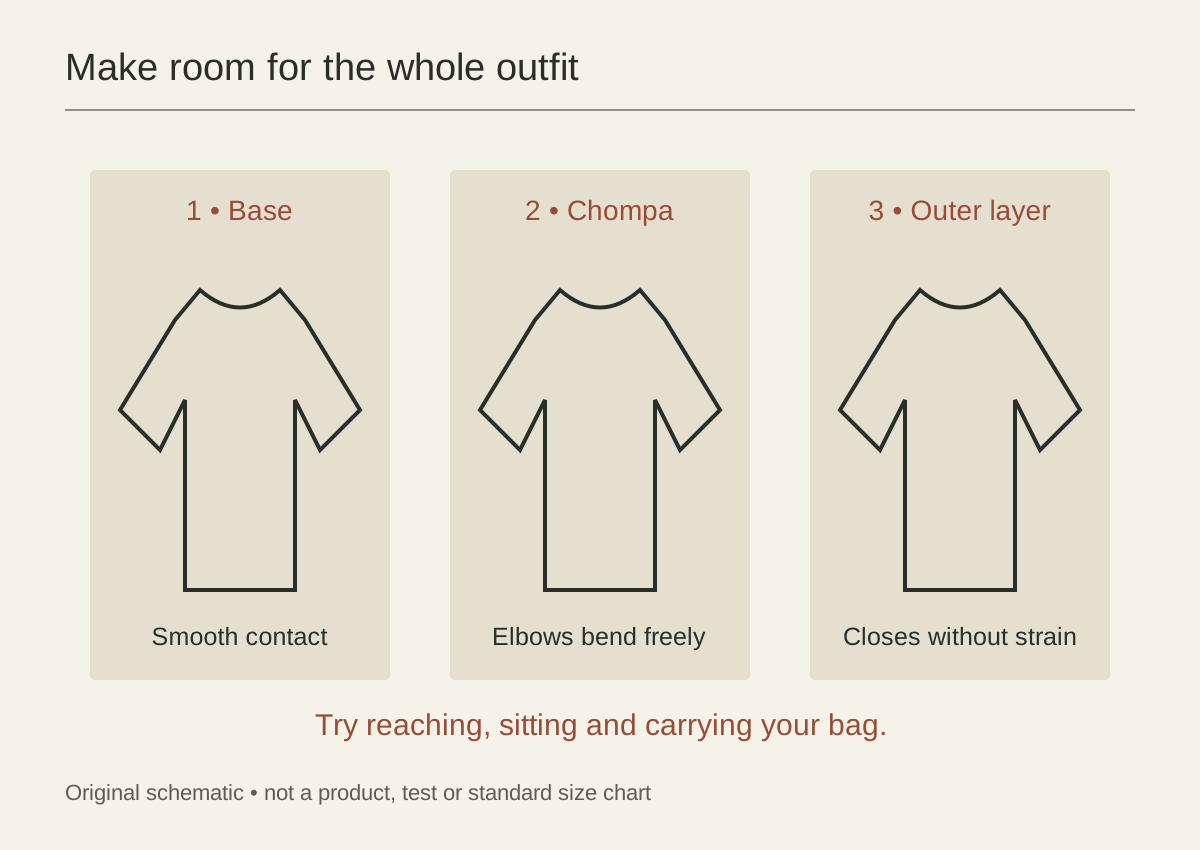
Try the intended layers underneath. The layering guide offers useful movement checks, although a poncho’s open sides require their own assessment. Flat dimensions cannot certify wind protection or replace trying an unfamiliar drape.
CTTC describes Accha Alta ponchos as relatively small compared with those of other communities it discusses. That is a useful reminder of variation, not a ready-made size chart. Ask about the actual item rather than expecting one regional name to supply your dimensions.
Send a precise request
A useful message is: “Please show the fully unfolded width and front-to-back length without fringe, the front neck-edge-to-hem route, fringe length and the neck opening. Please label the front and back.” Adapt it if the garment is shaped or constructed differently.
Keep the answer with the poncho buying reference, the listing and return terms. The goal is a shared description of the garment, followed by a check of the coverage you need, rather than a promise that one size suits everyone.